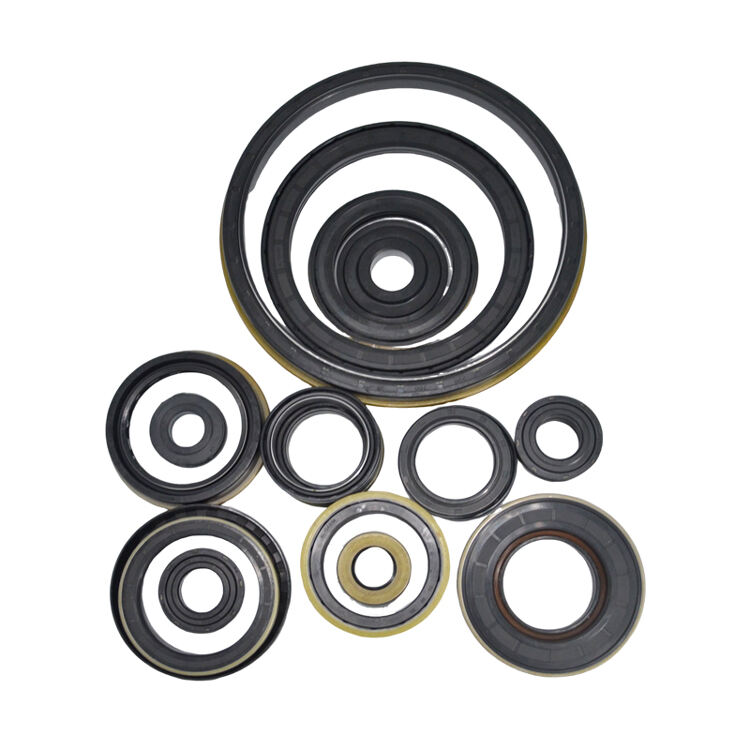
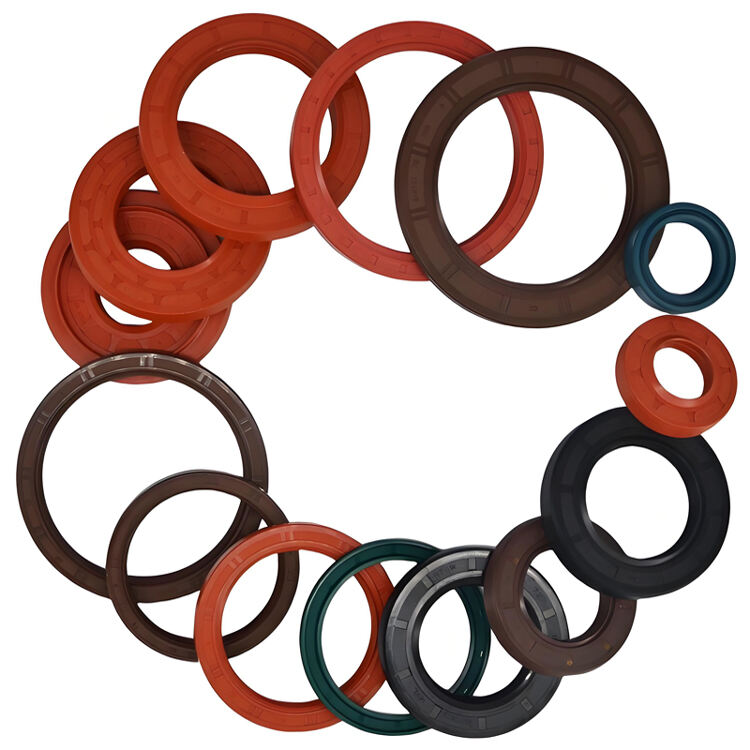
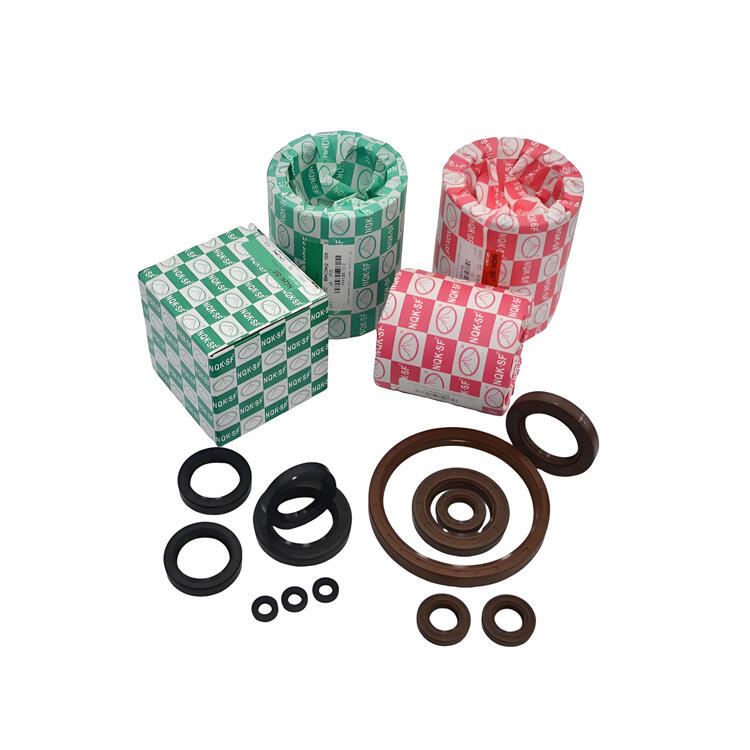
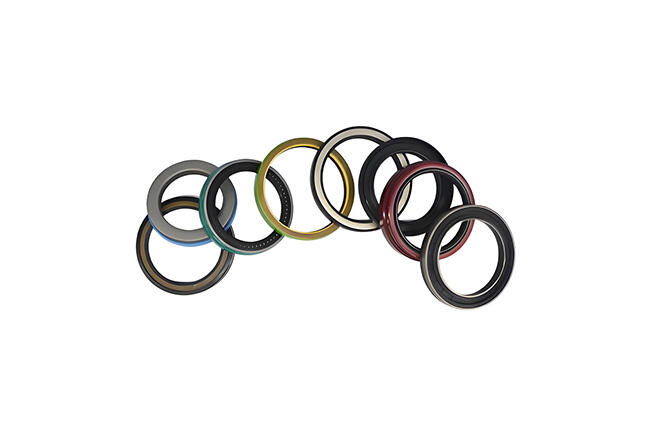
Trucks wheel hub seal plays a crucial role in preventing grease or oil from leaking out of the wheel bearing area and blocking dirt or water from entering. A properly installed hub seal is essential for maintaining wheel bearing health, improving braking performance, and ensuring road safety. If installed incorrectly, it can lead to premature bearing failure, wheel overheating, or oil leaks. This article provides a clear, structured explanation of the installation process for a truck wheel hub seal, along with helpful answers to common questions.
🔧 Step-by-Step Installation Process for Wheel Hub Seals
1. Prepare the Tools and Work Area
Before starting, make sure you have the correct replacement seal, installation tool or driver, grease or oil (if needed), a clean rag, and safety gloves. Work on a flat, clean surface and ensure the truck is properly supported.
2. Remove the Wheel and Hub Assembly
Lift the vehicle and safely remove the wheel. Then, take off the hub assembly by loosening the fasteners, removing the brake drum (if applicable), and extracting the old bearing components.
3. Inspect and Clean the Hub and Spindle
Thoroughly clean the hub bore and spindle surface using a lint-free cloth. Remove any old grease, dirt, or metal particles. Inspect for scratches, pitting, or damage, as these can affect the sealing surface.
4. Apply Lubrication (If Required)
Some seals require light lubrication of the outer rubber edge or inner lip. Be sure to follow the manufacturer's instructions—excessive lubrication may affect fitment.
5. Install the New Hub Seal
Using a seal driver tool or a flat plate and mallet, carefully tap the seal into the hub. Ensure it is seated evenly and flush with the hub surface. Avoid hammering directly on the seal or using makeshift tools that may deform it.
6. Reassemble the Hub and Wheel
Once the seal is in place, repack the bearing if needed, reinsert the spindle components, and reassemble the hub. Tighten all parts to the specified torque values and reinstall the wheel securely.
7. Test and Monitor
After installation, test-drive the vehicle slowly and monitor for oil leaks around the hub. Recheck after a short run to ensure the seal is holding and seated correctly.
Frequently Asked Questions
Q1: How do I know if a wheel hub seal needs replacement?
A: Signs include grease or oil leaking from the inner side of the wheel, bearing noise, or wheel overheating. Any of these may indicate seal wear or failure.
Q2: Can I reuse an old seal?
A: Reusing seals is not recommended. Once removed, seals often deform or lose tension, which compromises their sealing ability.
Q3: Do I need to use sealant when installing a hub seal?
A: Most seals are designed for dry installation, but always refer to the product’s installation guide. Some may require a light sealant in specific applications.
Q4: What causes premature seal failure?
A: Common causes include improper installation, contaminated lubricants, shaft surface damage, or excessive wheel-end movement due to bearing wear.
Installing a wheel hub seal on a truck may seem straightforward, but it requires careful attention to detail to ensure long-term sealing performance. By following the correct steps—cleaning surfaces, using proper tools, and inspecting all components—you can reduce the risk of leaks and improve the service life of your wheel-end assemblies.
 Hot News
ShanFeng Special Rubber Products Co., Ltd., operating under brand NQKSF since 1990, is a global leader in the sealing industry.
Copyright © 2026 ShanFeng Special Rubber Products Co., Ltd. All rights reserved. Privacy Policy